Estimated reading time: 10 minutes
Video content rules the digital marketing landscape these days. A lot of businesses are already on their way to incorporating videos into their content marketing strategies. Everyone prefers watching videos over reading text. That’s why today we are going to discuss filming and editing marketing videos.
With a fall in our average attention span to merely eight seconds, it’s imperative that we resort to video content. As it’s definitely going to have an impact on how well we grasp online content.
Thus, arises the need for video marketing of a brand or business. But have you ever wondered how intimidating it can be? The thought of incorporating videos into your marketing strategy.
Related Links
As there’s so much to consider, right from getting the right shooting equipment and video editing software to filming and optimizing audio. Fortunately, the cost of acquiring all such gear and editing tools has fallen significantly in the past decade, thus making it an ideal time to create marketing videos. In fact, even editing effects for video production are free nowadays.
So, here is a detailed outline of all the important hacks that you must follow during the filming and editing of marketing videos.
The entire creation process of marketing videos can be divided into three stages – Pre-production, production, and post-production. Besides, these tips apply to both live videos and well as traditional scripted videos.
Tips For Pre-Production
1. Write A Script And/Or Create A Storyboard

The best marketing videos are not just created overnight. A lot of planning, preparation and hard work goes into it.
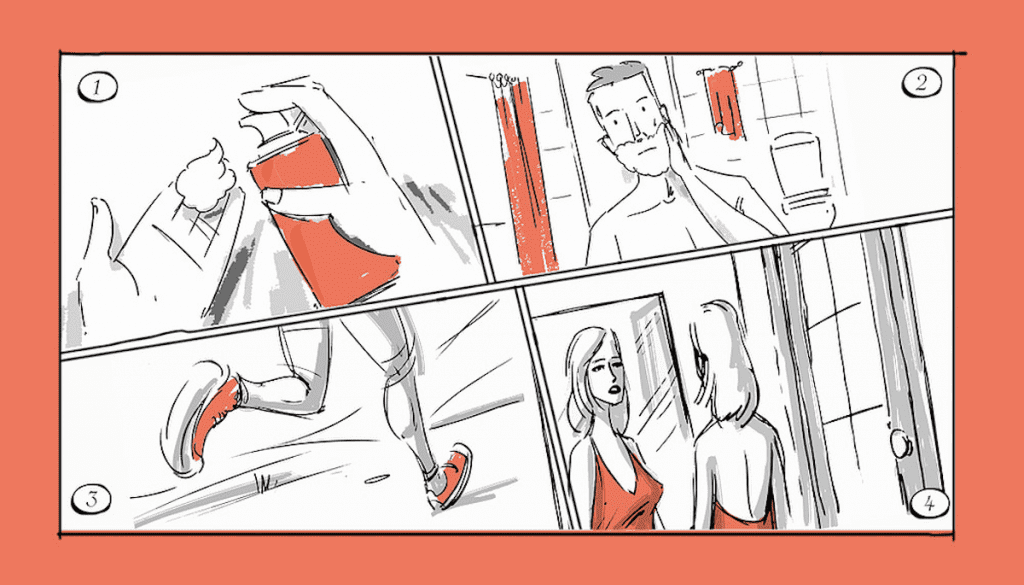
So, before you even consider taking a look at your camera equipment, make sure you put a script and a storyboard together. Storyboarding is essential to determine the shots required before you even start shooting.
The storyboard shouldn’t necessarily be well-drawn. In fact, you can use a series of photographs as a storyboard or just rough drawings or stick figures. As all you need to know is what shots you require before filming.
The more time you spend planning your video, the lesser chances are there of you losing your footage later on.
2. Interview Your Presenters
Be sure to fully prepare your subjects or presenters so that they are aware of what’s expected of them to avoid any mistakes or time wastage while shooting. They must know what they’re doing, and you must have an idea of what the final video will look like.
Also, it’s better if you don’t let your presenters learn lengthy scripts as they aren’t professional actors, and therefore it may scare them away or even make them anxious.
3. Decide Which B-Roll Footage Is Needed
If you’re considering including a few shots of your team working on the video or including some other footage in your video, then you would require B-roll footage.
B-roll footage can be any footage or clips that aren’t your main subject. For example, if you’re shooting an explainer video demonstrating software, B-roll footage will include shots of happy customers praising the product or shots of your office.
The pre-production phase is the best time to figure out what footage you need to avoid further unavailability of footage.
Tip: If you need footage of something that is tough to film like aerial shots or videos of exotic places, B-roll comes in handy.
Tips For Production
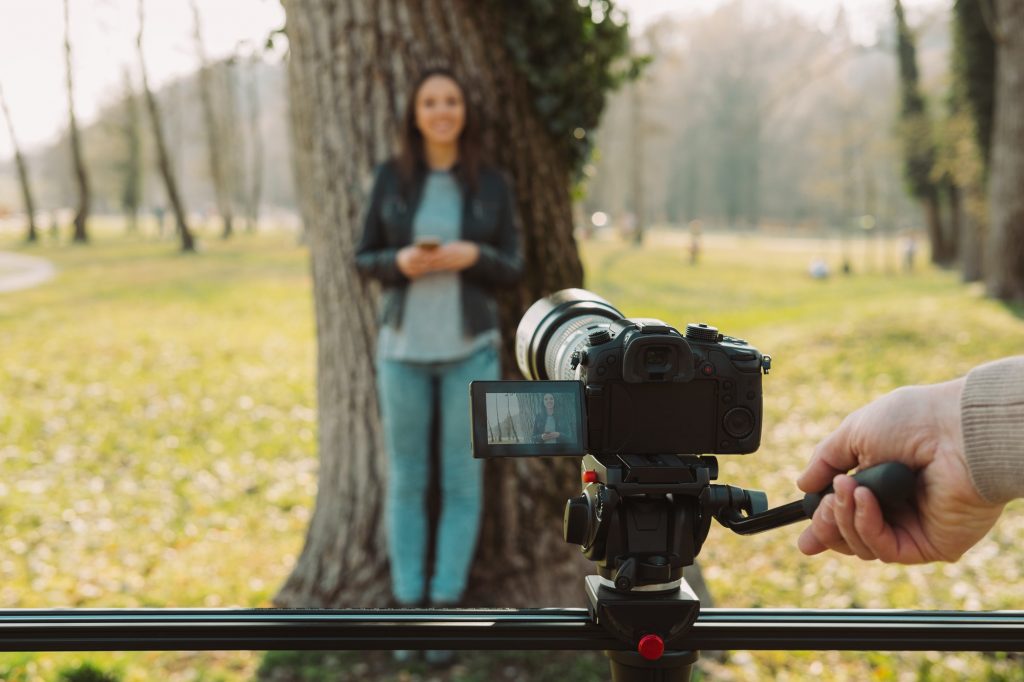
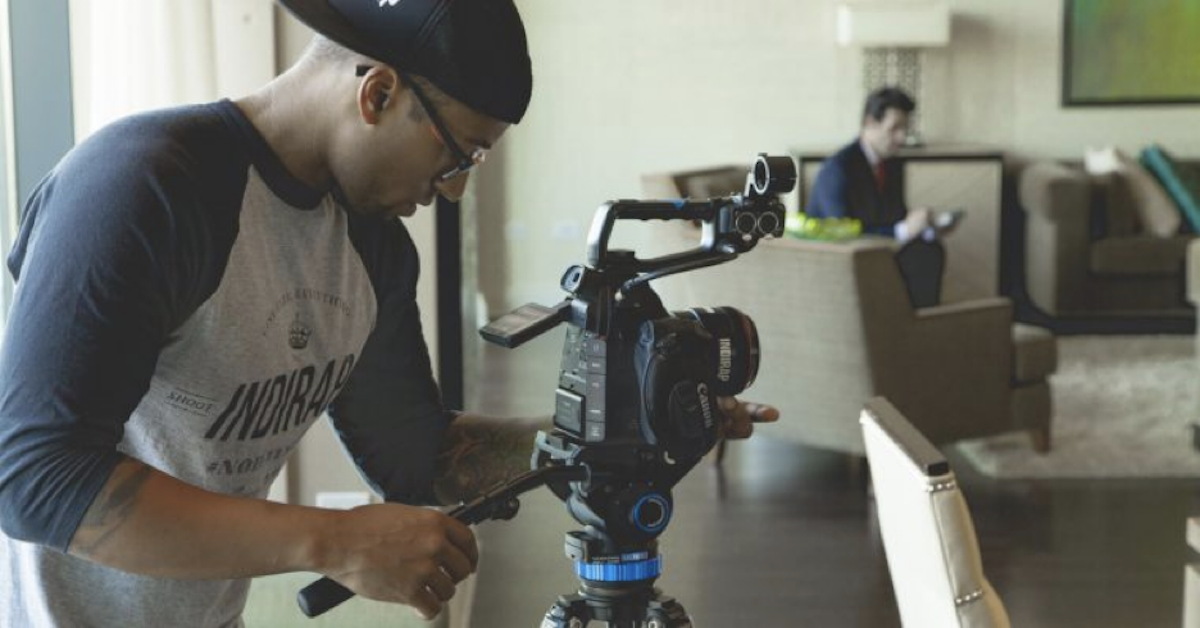
Whether filming a video or clicking a photograph, composition plays an important role in getting the final video. Composition refers to the way a shot is staged and framed or even composed. It is a term that determines how a subject is positioned or arranged in a shot.
4. Make Use Of The ‘Rule Of Thirds’
Rule of Thirds can be explained using the following example:

Suppose your shot is divided into 9 equal parts by two vertical lines and two horizontal lines. Take a note of how your main subject is placed where two of the four points meet or intersect. This technique is used for drawing the eye towards the primary point of interest.
The viewer’s eye is naturally drawn towards the top-left point, and most people will spend more time looking at the part of the shot than other parts while creating a logical point to place the main subject in the shot.
Using ‘Rule of Thirds’ while composing a shot makes it easier for the audience to see and makes it more aesthetically pleasing. It can be applied to any type of shot, even landscapes. The horizontal lines serve as a superb guide determining where the horizontal line of your exterior shots and the subject should be placed.
Lighting
Lighting can make or break your video. This means there shouldn’t be too much or too little lighting. Though image brightness and contrast can be rectified to a great extent, it’s always better to get the perfect shot while filming rather than fixing it later.
5. Avoid Any Conflict Between Natural And Artificial Lighting
If we talk about the lighting of a video, various types of lighting have different temperatures. The color temperatures are calculated in degrees Kelvin. This is a vast topic to cover, however, you must know that mixing two different sources of light having different temperatures will lead to an uneven shot.
For instance, if you’re filming an explainer featuring one of your team members. You pick a room with great acoustics. It is mainly lit by fluorescent lights, but there’s a huge window letting lots of natural light into the room.
If you place your subject too close to the window, it could lead to a potential contrast in the sources of the light.
Therefore, no matter where you shoot your video, ensure that the primary source of light is consistent. Avoid shooting in rooms with windows. If you’re unable to get a room without a window, position your subject far away from the windows to prevent any interference from daylight in your shot.
6. Set Your Camera’s White Balance Manually
Now that you’re aware of the fact that different light sources have different temperatures, it’s also important to know that you have to set the white balance of the camera. It’s mainly a process that informs the camera how ‘true white’ appears to prevent color casting.
A lot of cameras come with an auto-white balance feature, but it’s better to set it manually. So, you don’t have to worry about relying on the camera to get a color-balanced shot.
7. Do Not ‘Spotlight’ Your Subject
Avoid positioning your subject’s in direct bright light as too heavy a primary light source can diminish the brightness & contrast of a shot while causing reflections on the subject. There are various different lighting techniques that can be used to get a particular effect.
If you’re having a professional light ring, don’t just directly point it towards your subject, make sure your shot has even lighting. You can also use a reflector or diffuser to lessen shadows or spotlighting.
8. Check The Acoustics Of Your Shooting Location
Before you start shooting, check the acoustics of the place where you wish to shoot. If there’s an echo, look for another place for filming. Many audio issues can be fixed during post-production, however, even a faint echo can ruin a video.
So, if possible, always check the acoustics of your location before you pick it up for filming your video. It could save a lot of hassle.
9. Film Multiple Takes
Even professional actors or presenters aren’t perfect all the time. So, taking a single take is not really recommended.
Go for multiple takes. This offers a kind of backup in case something goes wrong in one take, you can use another take. It allows you to edit and compile various clips to form the final sequence instead of depending on just one.

Tips For Post Production
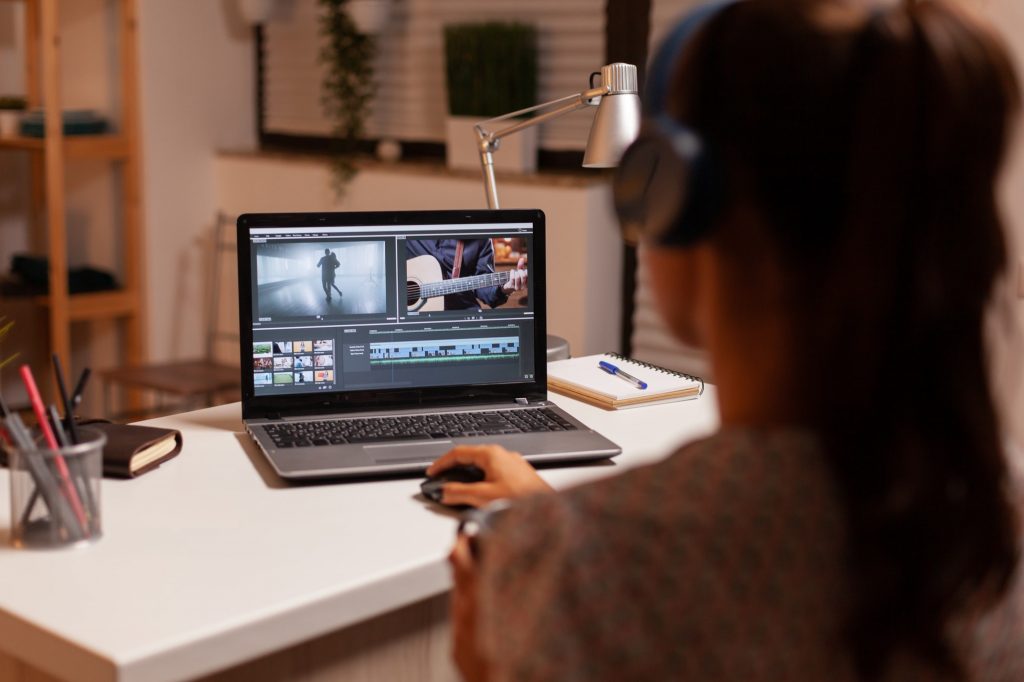
Before delving into the post-production tips, it’s better to pick a good video editing software.
There is a wide range of editing software available out there, both paid and free. Adobe Premiere Pro has been the go-to software for many creators and editors. It is packed with all the high-end features and functionalities for creating professional-quality marketing videos. And the paid plans are affordable too, which means that even smaller businesses can opt for them.
Besides, there is a whole lot of other software such as Final Cut Pro, Filmora, HitFilm Express, Lightworks, DaVinci Resolve, Pinnacle Studio, InVideo, and more. For Mac users, Final Cut Pro works really well.
10. Clean Your Clips Before Assembling The Rough Video
While importing the rough footage in your editing program, make sure to clean your clips. Most editing tools let users set ‘in’ and ‘out’ points for every clip while decreasing their lengths by trimming giggles, pauses, and other bits.
Editing the final footage with trimmed clips is much easier than adjusting each clip separately on the fly.
11. Be Sure To Cut ‘On The Action’
While editing a shot of a person doing something, always cut to the next shot while your subject performs the action.
For instance, if you’re editing a sequence of a person opening a door before he/she walks through it, cut to the shot of a person opening the door at that particular moment when the person holds the doorknob and turns it.
Cutting away before or after the action takes place may appear shaky and distract the audience.
12. Assemble The Rough Cut Before Solving Any Timing Problems
Once you’ve put together all the clips you require in your editing software, you must start putting the rough cut together.
However, before beginning the frame-by-frame editing, it’s important to put your clips together in one place. There’s no point figuring out the timing issues unless your video starts taking its shape.
13. Avoid Overdoing Your Video With Too Many Effects And Transitions
Avoid using any high-end effects or transitions such as wipe transitions offered by your editing program, unless you’re creating an animated-style video. The more effects/transitions you include, the more unprofessional your marketing video will look in front of your audience.
If you really wish to use some effects, use cross-fades for transitioning from one shot to another. In simple words, let your content talk, not the editing software.
14. Select The Music/Soundtrack Carefully
Not every marketing video requires background music, however, if you wish to put in yours, be careful about what you choose. For instance, you wouldn’t want to hear Heavy metal while making a video for an animal shelter. It simply means your music must match the theme of your video.
Remember to pay close attention to the licensing/copyright laws of the music track you plan to put in your video. Unless you select royalty-free music or use a sound wave creator to craft unique audio tracks, most music comes with strict copyrights, so be careful or else you could land in serious trouble
Tip: There are various sites offering royalty-free background music as well as sound effects, such as:
- RoyaltyFreeMusic(dot)com
- FreeStockMusic(dot)com
- AudioMicro(dot)com
You can also use specific songs or orchestral pieces if they fall well within the public domain.
15. Don’t Just Assume That Everything Can Be Fixed In Post-Production
Editing software helps a great deal with the entire video creation process, but they aren’t magic.
So, you can’t just assume that you’ll be able to fix all your issues in post-production. At times, you won’t be able to correct the brightness or contrast of a scene or isolate someone’s voice in a room full of people.
Post-production is actually a process that involves adding finesse to a video, not a time to rectify mistakes that could have been easily avoided while shooting.
Wrapping Up
I hope that these tips & tricks will greatly help you avoid a lot of mistakes that could be committed while filming and editing a marketing video. The shooting part is the most crucial part as if you’re careful enough during it, your video can turn out a lot better.
Author Bio: Apeksha Patrick
Digital Content Specialist at 2D Animation Company (EssenceStudios). She holds a Bachelor’s & Master’s degree in Journalism & Communication from Manipal University, India. Passionate about creative writing, she loves reading as well! Always keen to explore new places & opportunities. On a never-ending quest of pushing her boundaries as a writer & editor.
Contact Matchbox Design Group Today!
If your website could use a refresh, if you’re looking to drive more traffic to your site, or you would like to submit a guest post, fill out the form below and we’ll contact you to learn more about your digital needs.


