Facebook Messenger bots are becoming a trend today in social media marketing, and it produces excellent results for a lot of companies doing this. Have you been curious about this trend and how these bots work? In fact, Facebook Messenger bots are not that complicated.
However, we should talk first about why Facebook Messenger marketing is important and works so well. Facebook messages have that characteristic where they can grab your subscriber’s attention. Push notification for anyone can be distracting and many cannot resist opening them. Also, since Facebook is used mainly to create relationships, Messenger is also doing the same for your consumers, which is building a customer relationship.
But among all of those advantages in Facebook messenger, you do not own your Messenger subscriber list. You do not have a list of information about your subscribers on Facebook Messenger. So, this scenario shows you how to use Messenger to grow your email list by extracting the data of your Messenger subscribers and creating a list of your own. Here are three steps to help you on how to improve your mailing list through Facebook Messenger.
Set Up A List And Welcome Message In Your Email Marketing Service
The first step for you is to set up a welcome message for your choice of email marketing service. To start, you need to log in with your credentials to an email marketing service of your choice, such as MailChimp.
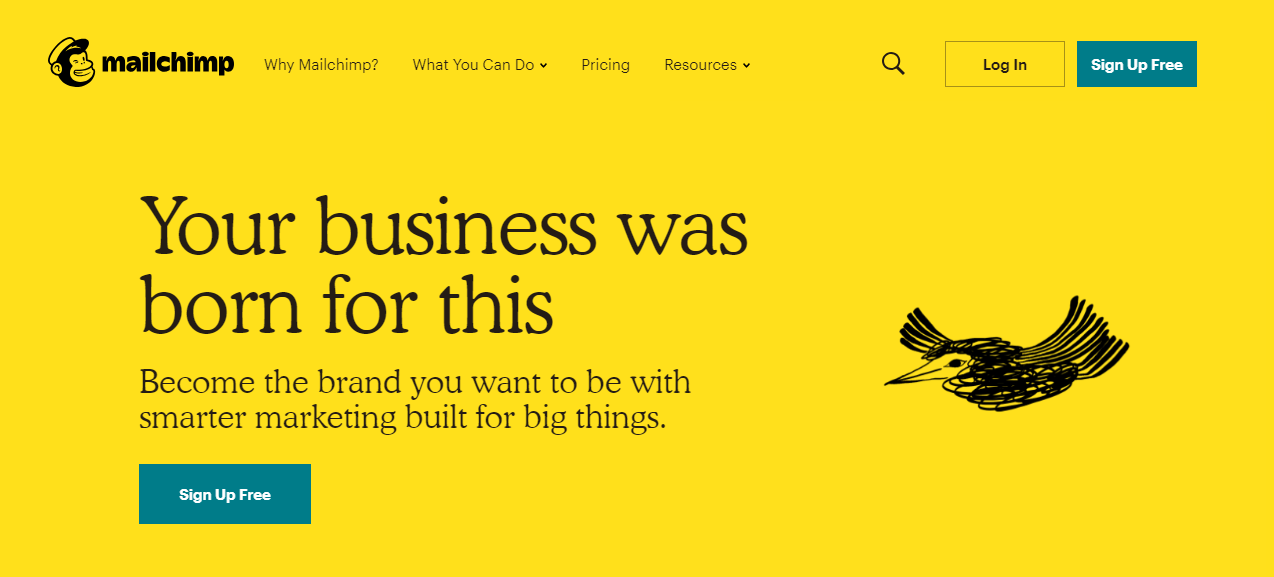
For this guide, we chose using MailChimp since it provides a free version to anyone. After that, you need to produce a list where you will add your Messenger bot subscribers, and you will start setting up the automated messages you want to send out to your users on that list.

You can do that in MailChimp by clicking on the Lists tab and click Create List. Just follow the directions and do not forget to save your work after you have done the task.
After creating a list, you now need your welcome message that is automated.
From The MailChimp Home:
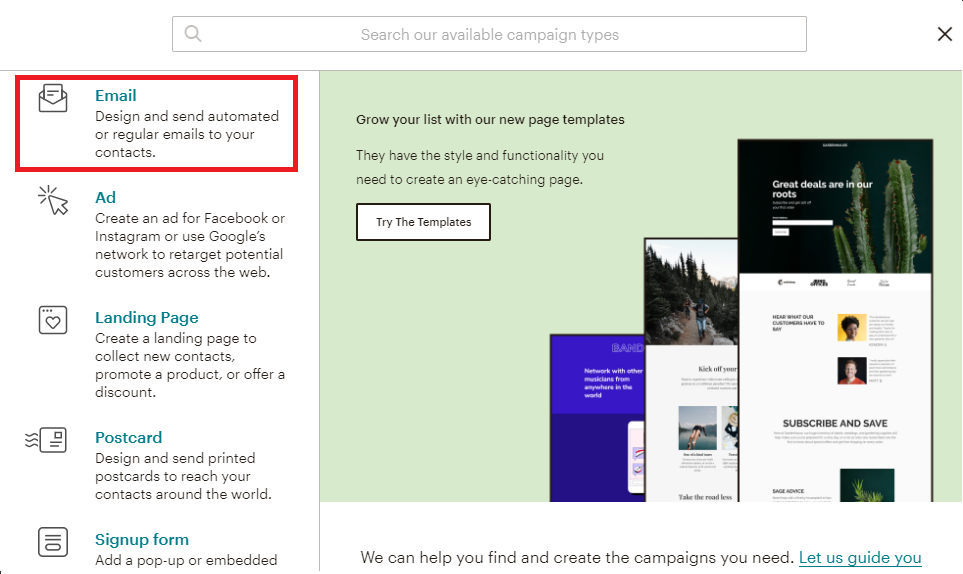
- Click Create Campaign
- Select Email
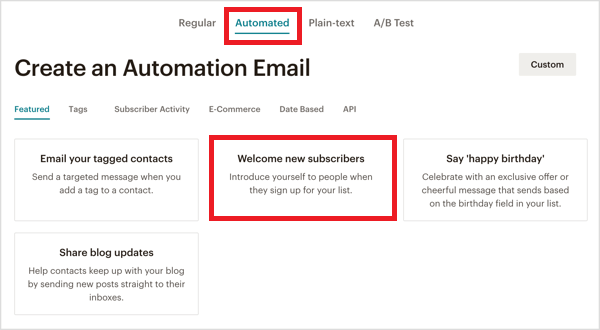
- Click the Automated tab
- Select Welcome New Subscribers
From there, you will pick the kind of message you will send. It can be a welcome message, an onboarding series, or an education series. After selecting, choose the list you created earlier.
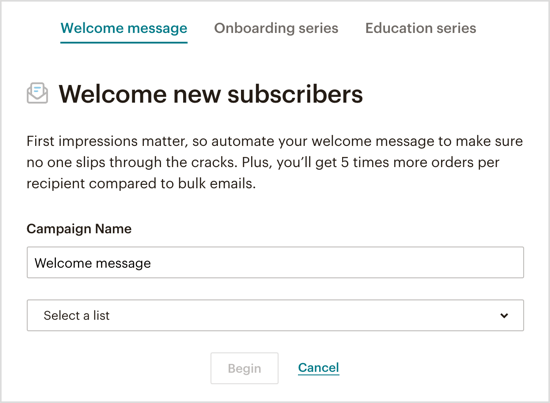
You can now write your email to your subscriber list. The next step depends on the chosen email marketing service. For MailChimp, we will proceed to step 2!
Connect Mailchimp to Your Messenger Bot Builder
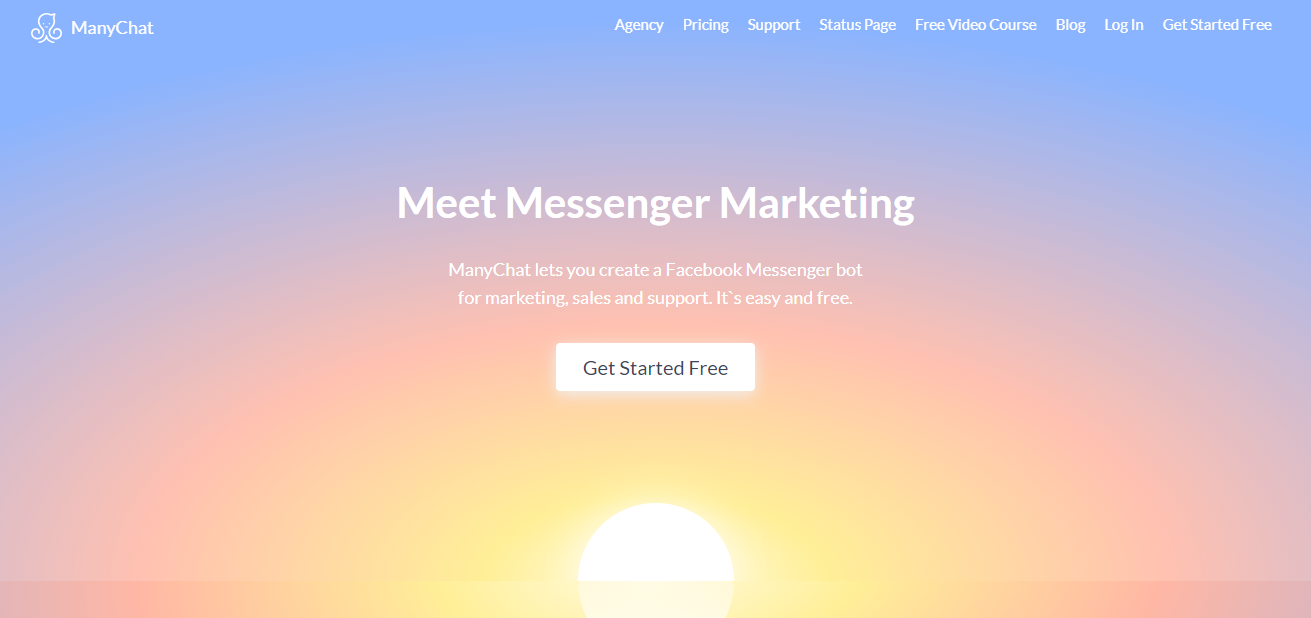
Next step for MailChimp users is to connect it to a Messenger Bot Builder. In this case, we will be using ManyChat as our Messenger bot builder.
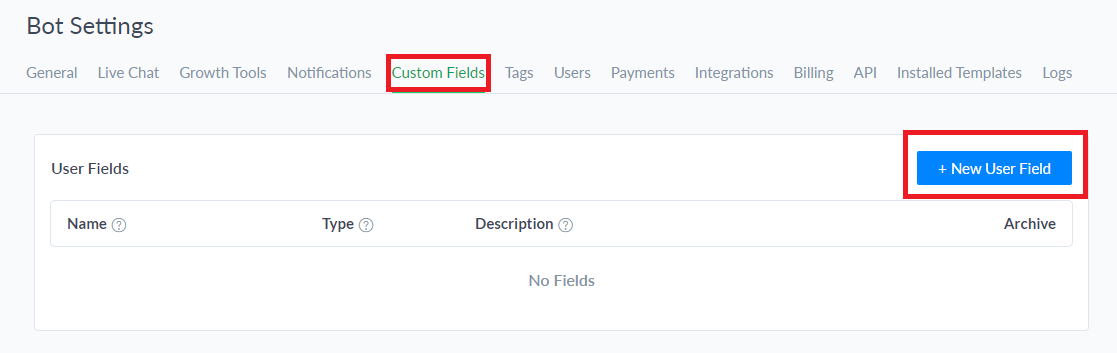
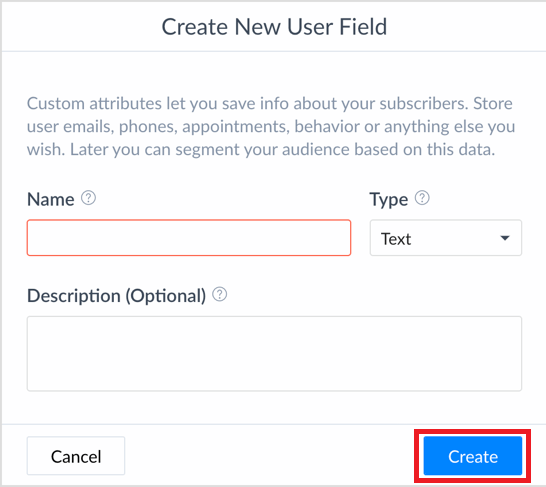
The first thing you should do is log into your ManyChat account and select Settings. Click the Custom fields, then click New User Field to help you in creating an area that gives you your Messenger bot subscribers’ email addresses. There will be a pop-up window where you will input a name (email address) and select Text in the type drop-down. After all of these, click Create.
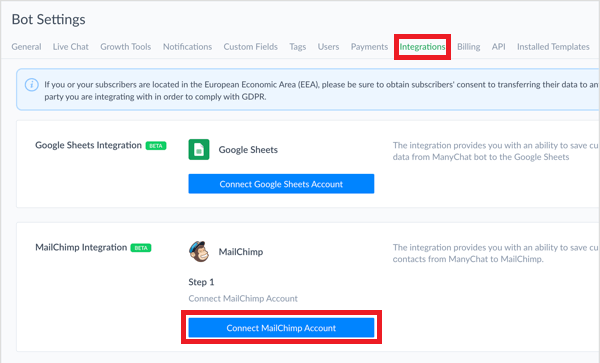
The next thing you will do is select Integrations, then connect your MailChimp by clicking Connect MailChimp Account. After logging into your MailChimp account, click the Email Field Box and pick the custom field you created earlier.
Lastly, you need to connect the Messenger bot into capturing your users’ email addresses. To do this, click New Flow. Think of a name for your flow for easily retrieving information. After naming, you will be creating your message for qualifying your lead. You will start asking for your user’s email address, make sure to put a user input. Select Email for Reply Type. You can set an automated response whenever the user does not send a working email address for you. After this, select the custom field you created earlier in the Save Response to a Custom Field. This way, all valid responses will go to your custom field.
After a successful input, you need to create an action. Select from the list to decide where your subscribers will go for this bot flow.
Connect An Email Marketing Service To Your Messenger Bot Builder With Zapier
The last step is to connect your email marketing service to your ManyChat account. You can accomplish this by using Zapier. First, go to ManyChat, and you are required to produce a chatbot flow.
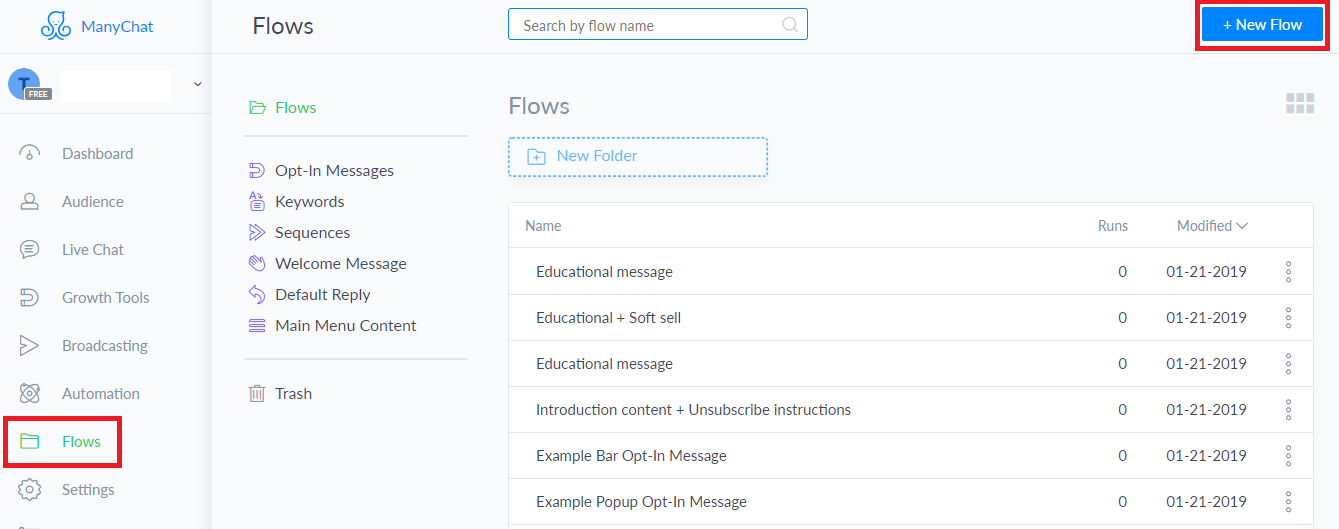
Go to the Flows tab and click New Flow. Name your flow for easy access in the future. Create your message here for a generation of leads and when you ask for your user’s email address, add a user input in the response.
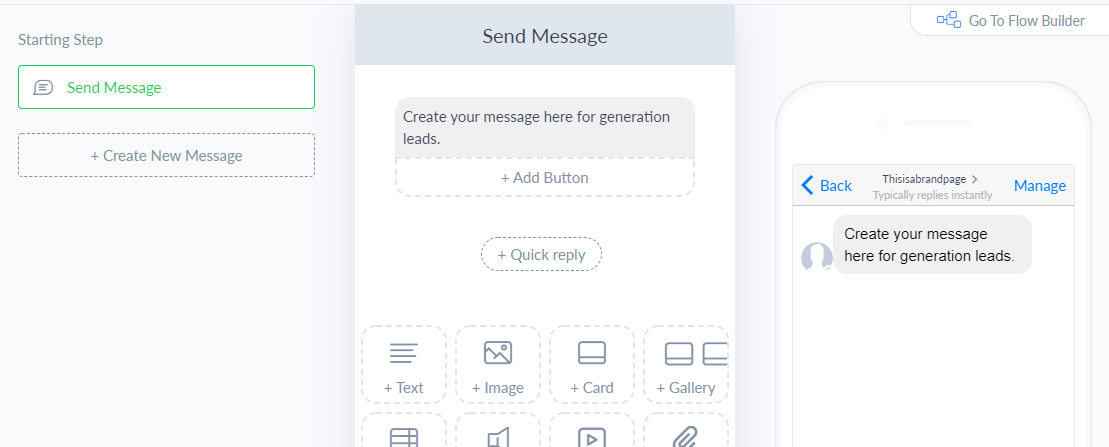
When you are in the Edit User Input pop-up window, you will see a Reply Type field, select Email for that. Create a custom response for this. After all of this, you need to connect ManyChat and Zapier, and your email marketing service. In the drop-down menu, pick Trigger Zap. Pick a name for your zap, then finish your message.

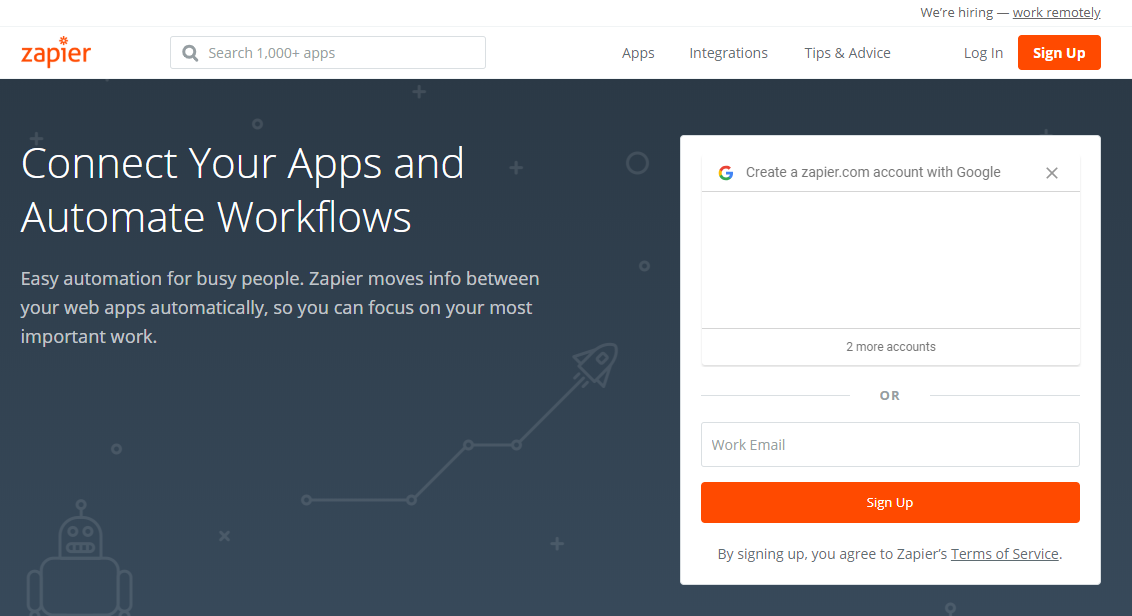
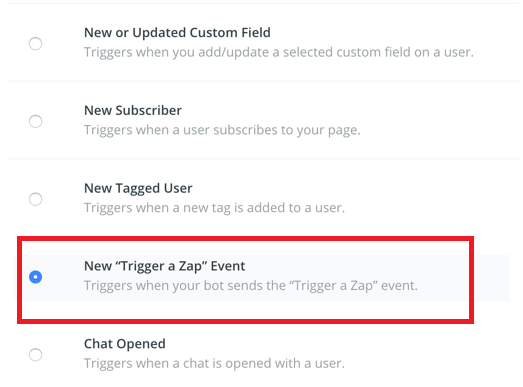
From here, log into your Zapier and after doing this, click the Make a Zap! Button. After that, you will choose a trigger app which is the origin of the action. In this case, you will pick ManyChat. You will be tasked to pull a ManyChat trigger; you should choose the New “Trigger a Zap” Event. Then you will select the Trigger Zap action you just created.
To create an action, you must pick an email service provider. We will be using Constant Contact here. Select Create Contact on the next page. You need to create a path from ManyChat to your email marketing service. From the List drop-down menu, pick the list you created in your email marketing provider in step 1. For the email field, select the custom field you created in ManyChat in saving the user’s email response. After selecting Continue, you will be tasked to do an optional test. After doing a successful test, click Finish.
Once everything is completed, you need to activate your zap just by putting the tab to on, and then you are done!
Author Bio:
Kevin Urrutia is the founder of Voy Media, a Facebook Ads Agency based in New York. He helps businesses maximize the benefits of Facebook Advertising, leading to a dramatic improvement in sales while pushing down costs. Voy Media thoroughly studies each client and comes up with tailor-fit solutions to bring about the best results.
Contact Matchbox Design Group Today!
If your website could use a refresh, if you’re looking to drive more traffic to your site, or you would like to submit a guest post, fill out the form below and we’ll contact you to learn more about your digital needs.